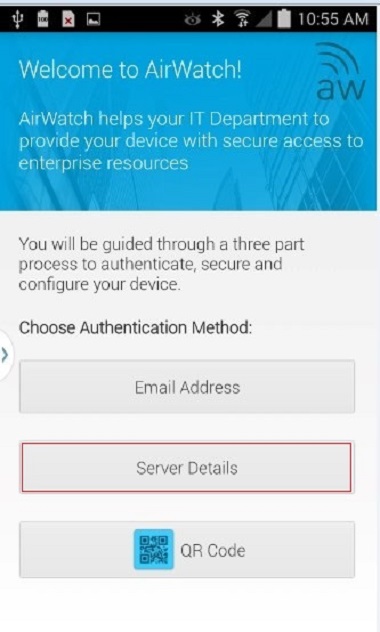
1. Open the AirWatch Agent and select “Server Details”
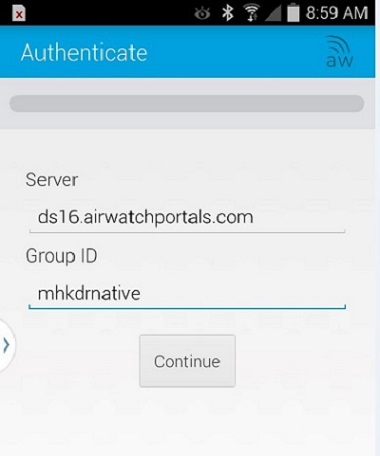
2. A. Populate the “Server” field with ds16.AirWatchportals.com
B. Populate the “Group ID” field with
MHKDrNative, Tap Continue
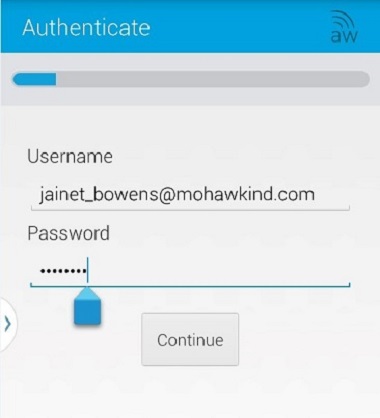
3. A. Populate the “User Name” Field with your corporate email address
(Example: john_doe@mohawkind.com)
B. Populate the “password” field with your Windows/VPN password.
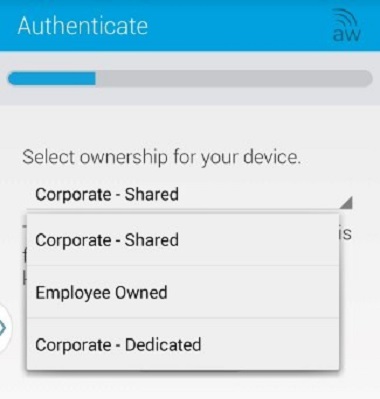
4. Select Ownership from the drop down menu and
tap Continue
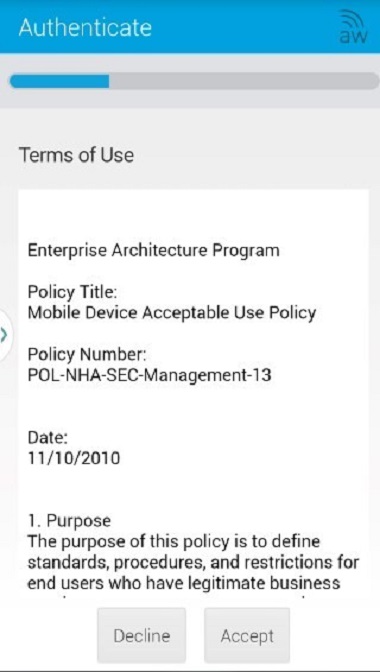
5. Accept the Terms of Use
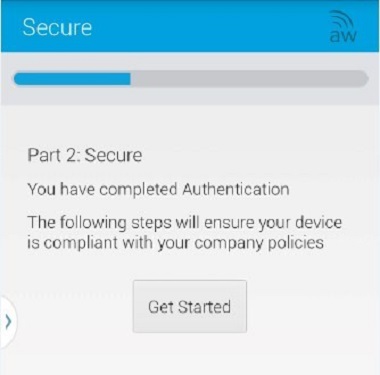
6. Tap Get Started to begin
7. Tap Continue to grant permissions to the AirWatch Agent

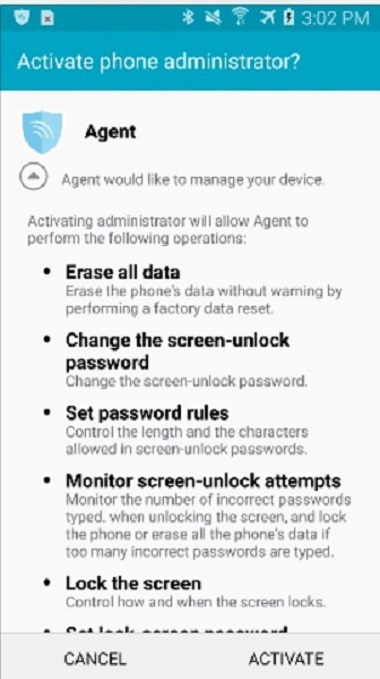
8. Activate “Device Administrator” by Tapping Activate
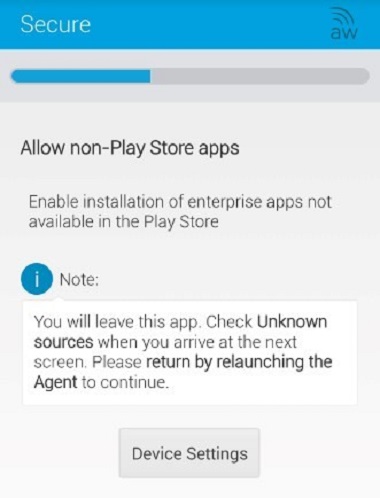
9. If you receive a prompt to “Allow non-Play store Apps” Tap on Device Settings
and follow instructions to “Allow Unknown Sources”
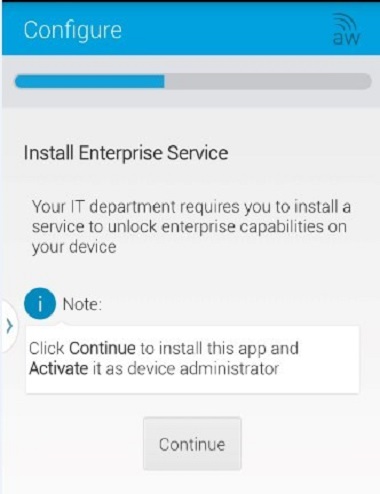
10. If prompted, install the Enterprise Service by tapping Continue
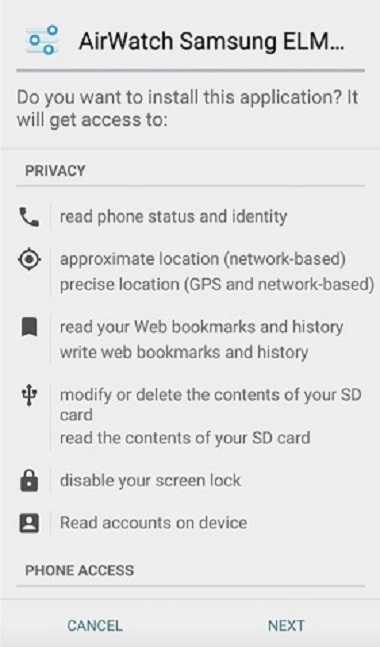
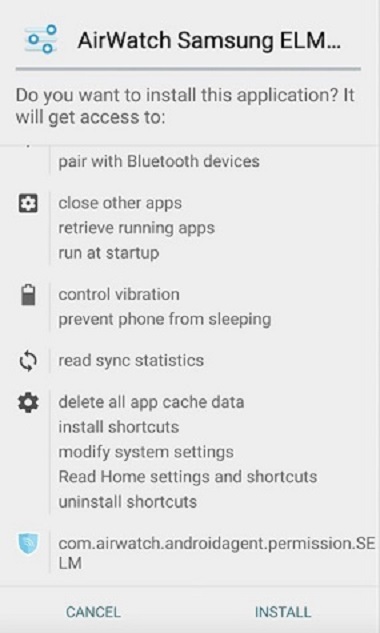
11. If Prompted, install the AirWatch ELM, tapping Next twice.
12. Tap a. install, Then Tap
b. done on the following screen
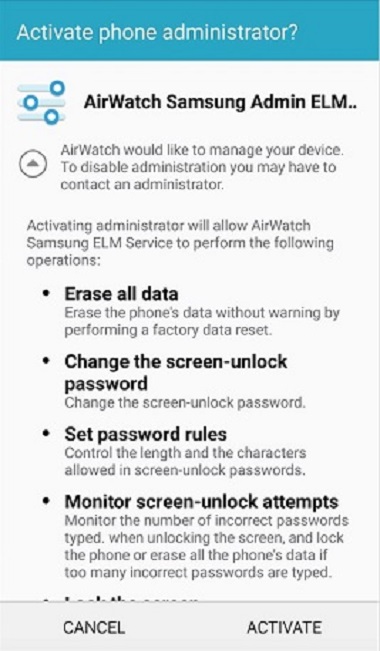
13. Activate the Phone Administrator
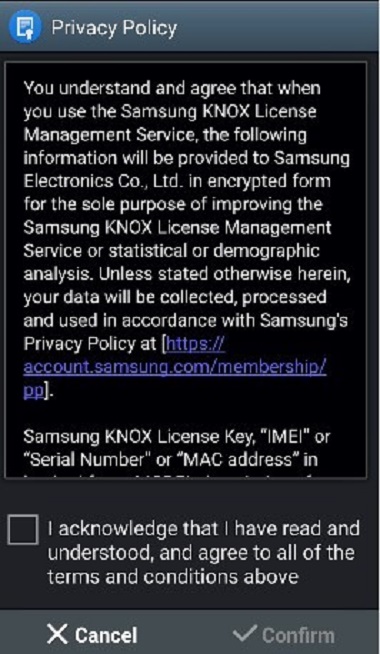
14. Tap acknowledge then tap Confirm
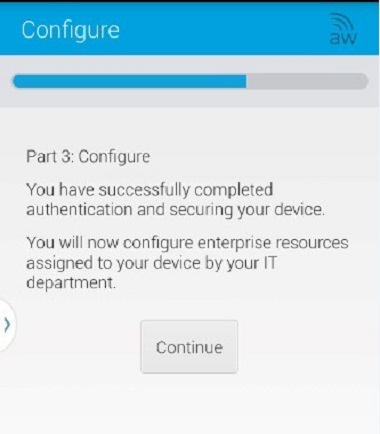
15. Tap Continue to begin email configuration
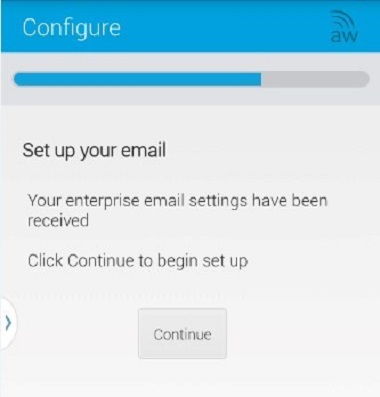
16. Tap Continue to setup your email
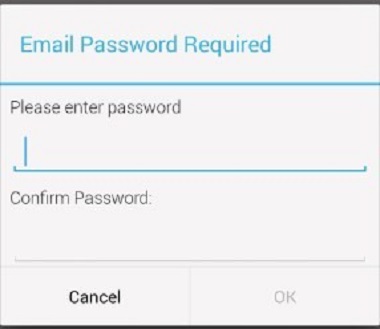
17. AirWatch will prompt for your password.
Use your Windows/VPN password then tap OK
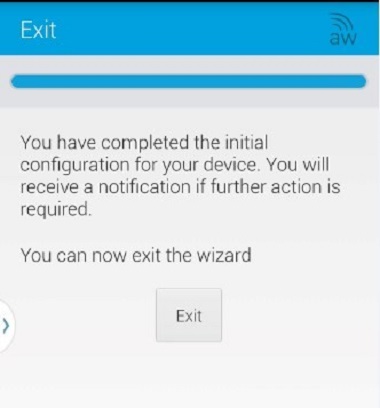
18. Initial Configuration is complete, tap Exit
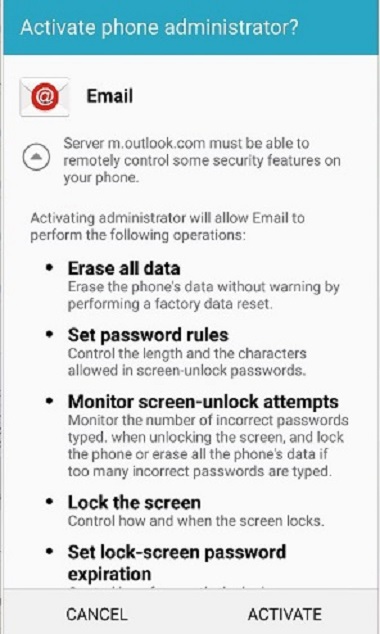
19. Activate Phone Administrator by tapping Activate
20. Your device is now enrolled on in AirWatch, your email will now begin populating.
Please allow 15-20 minutes for the prime sync to complete, and continue using your device normally